How to apply the poly gel?
How to apply the poly gel? In this blog, we Maryton nail supply are going to explain how to apply poly gel on your nails step by step. To give your poly gel nails more durability, it is best to use a rubber base under the acrylic gel.
Step 1
Degrease the nails with a nail prep after preparing the nail plate. Depending on the type and condition of the nail plate, apply the correct primer.
Step 2
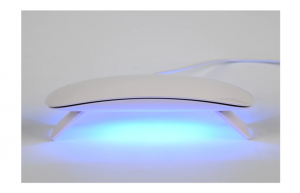
Apply a layer of rubber base. Cure in lamp (LED 30-60 s / UV 120-180 s).
Step 3
Apply a stencil in the right place. Using the spatula, apply a small amount of acrylic gel to the nail just before the edge with the stencil.
Step 4
Model the acrylic gel with the moistened gel brush to obtain a good base. Cure in lamp (LED 60-90 s / UV 120 s). Then, apply more acrylic gel with the spatula and mold the nail to the correct shape. Cure in lamp (LED 60-90 s / UV 120 s).
Step 5
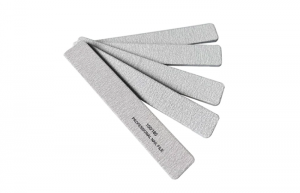
Remove the sticky layer with the Detergente Cleaner. File the nail to the correct shape.
Step 6
If you wish, apply one of the semi-permanent varnish colors. Finish the manicure with a top coat of your choice.
OK! Now that you have known how to apply the poly gel, bring your manicure kit and act now! It doesn’t matter if you don’t have nail tools. We have everything all you need.
Read also: How to remove semi-permanent varnish?

